
How to photograph surfboard damage for a repair quote
Good photographs help James understand what is damaged, where it sits on the board and whether anything beyond the obvious area may need attention.
Start with the whole board
Take one clear photograph showing the complete deck or bottom of the board. This gives James context for the damage and helps show its position, the type of board and useful construction details.
Do not begin with an extreme close-up. A small crack on a rail, beside a fin box or across a stressed section can mean something different depending on where it sits.
Show the damage in context
Next, take a photograph that shows the damaged area together with the surrounding rail, deck, bottom, nose, tail or fin area.
This middle-distance photograph is often one of the most useful because it shows whether the damage crosses a rail, reaches a fitting or extends farther than the obvious broken laminate.
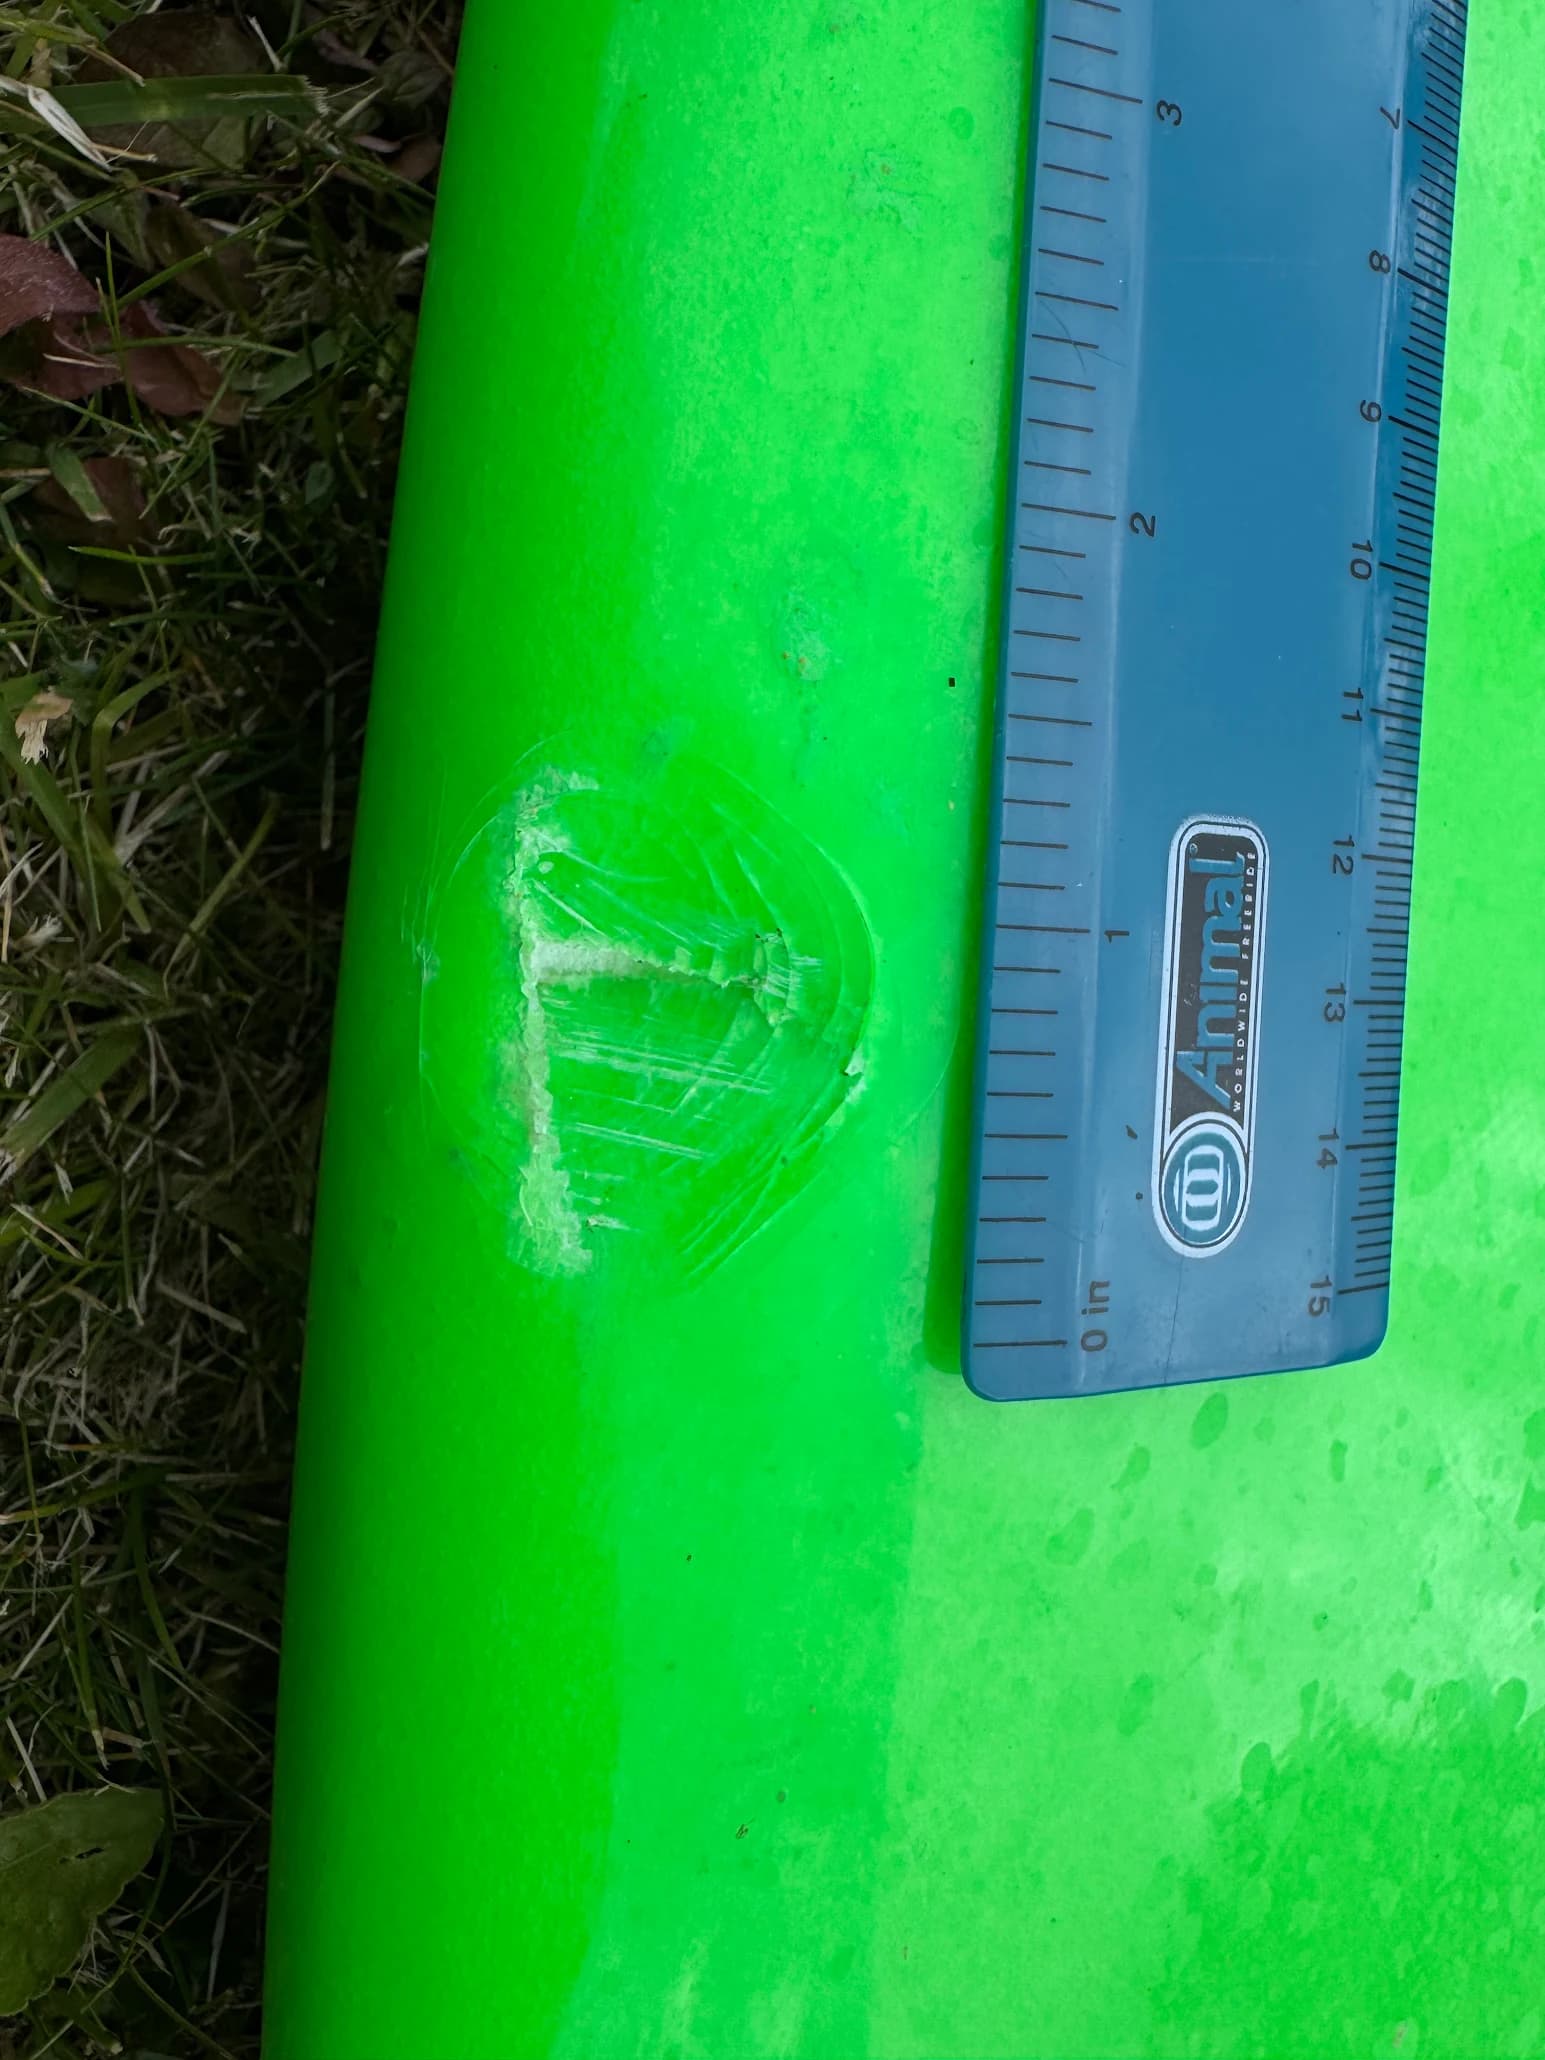
Take a sharp close-up
Add a close photograph of the damage itself. Keep the camera focused and use good natural light where possible.
James needs to be able to see open cracks, crushed foam, lifted fibreglass, missing material and the edges of the damaged area. Avoid glare that hides the surface.
Add a side angle when the shape has changed
A low side angle is useful for delamination, buckles, crushed rails and other damage that has changed the profile of the board.
Photograph roughly level with the surface rather than directly above it so any lift, crease or depression can be seen.
For fin box damage, show the whole tail
Photograph the damaged box or plug closely, then add a wider image showing the complete fin area and surrounding tail.
Remove the fin if it can be removed easily and safely. Do not force a damaged box or fitting simply to take the photograph.
For multiple dings, photograph every damaged area
If the board has several dings, include individual photographs of each one as well as the whole-board image.
The repair brief allows you to select multiple dings so James can consider the work together rather than treating each photograph as a separate enquiry.
Tell James anything the photograph cannot show
Mention if the board has taken on water, feels heavier than usual, was surfed after the damage occurred or has previously been repaired in the same area.
You do not need to diagnose the construction or repair yourself. If you know whether the board is PU, EPS or another construction, include it; if you do not, James can work from the information available.
Do not prepare the repair before taking the photos
Avoid sanding, cutting away laminate or filling the damaged area before James has seen it. Those changes can make the original extent of the damage harder to judge.
Surfboards need to be fully dewaxed before they are brought into the workshop, but you do not need to remove all the wax simply to submit the initial repair brief.